New Campaign
This tab walks you through creating a campaign step by step, instead of one long form. There are 5 steps: Dealership, Campaign, Schedule, Review, and Export. You can go back to a previous step at any time with the Back button, and Continue stays greyed out until the current step has what it needs.
Step 1: Dealership
Search for and select the dealership this campaign is for. Type at least 2 characters to see results.
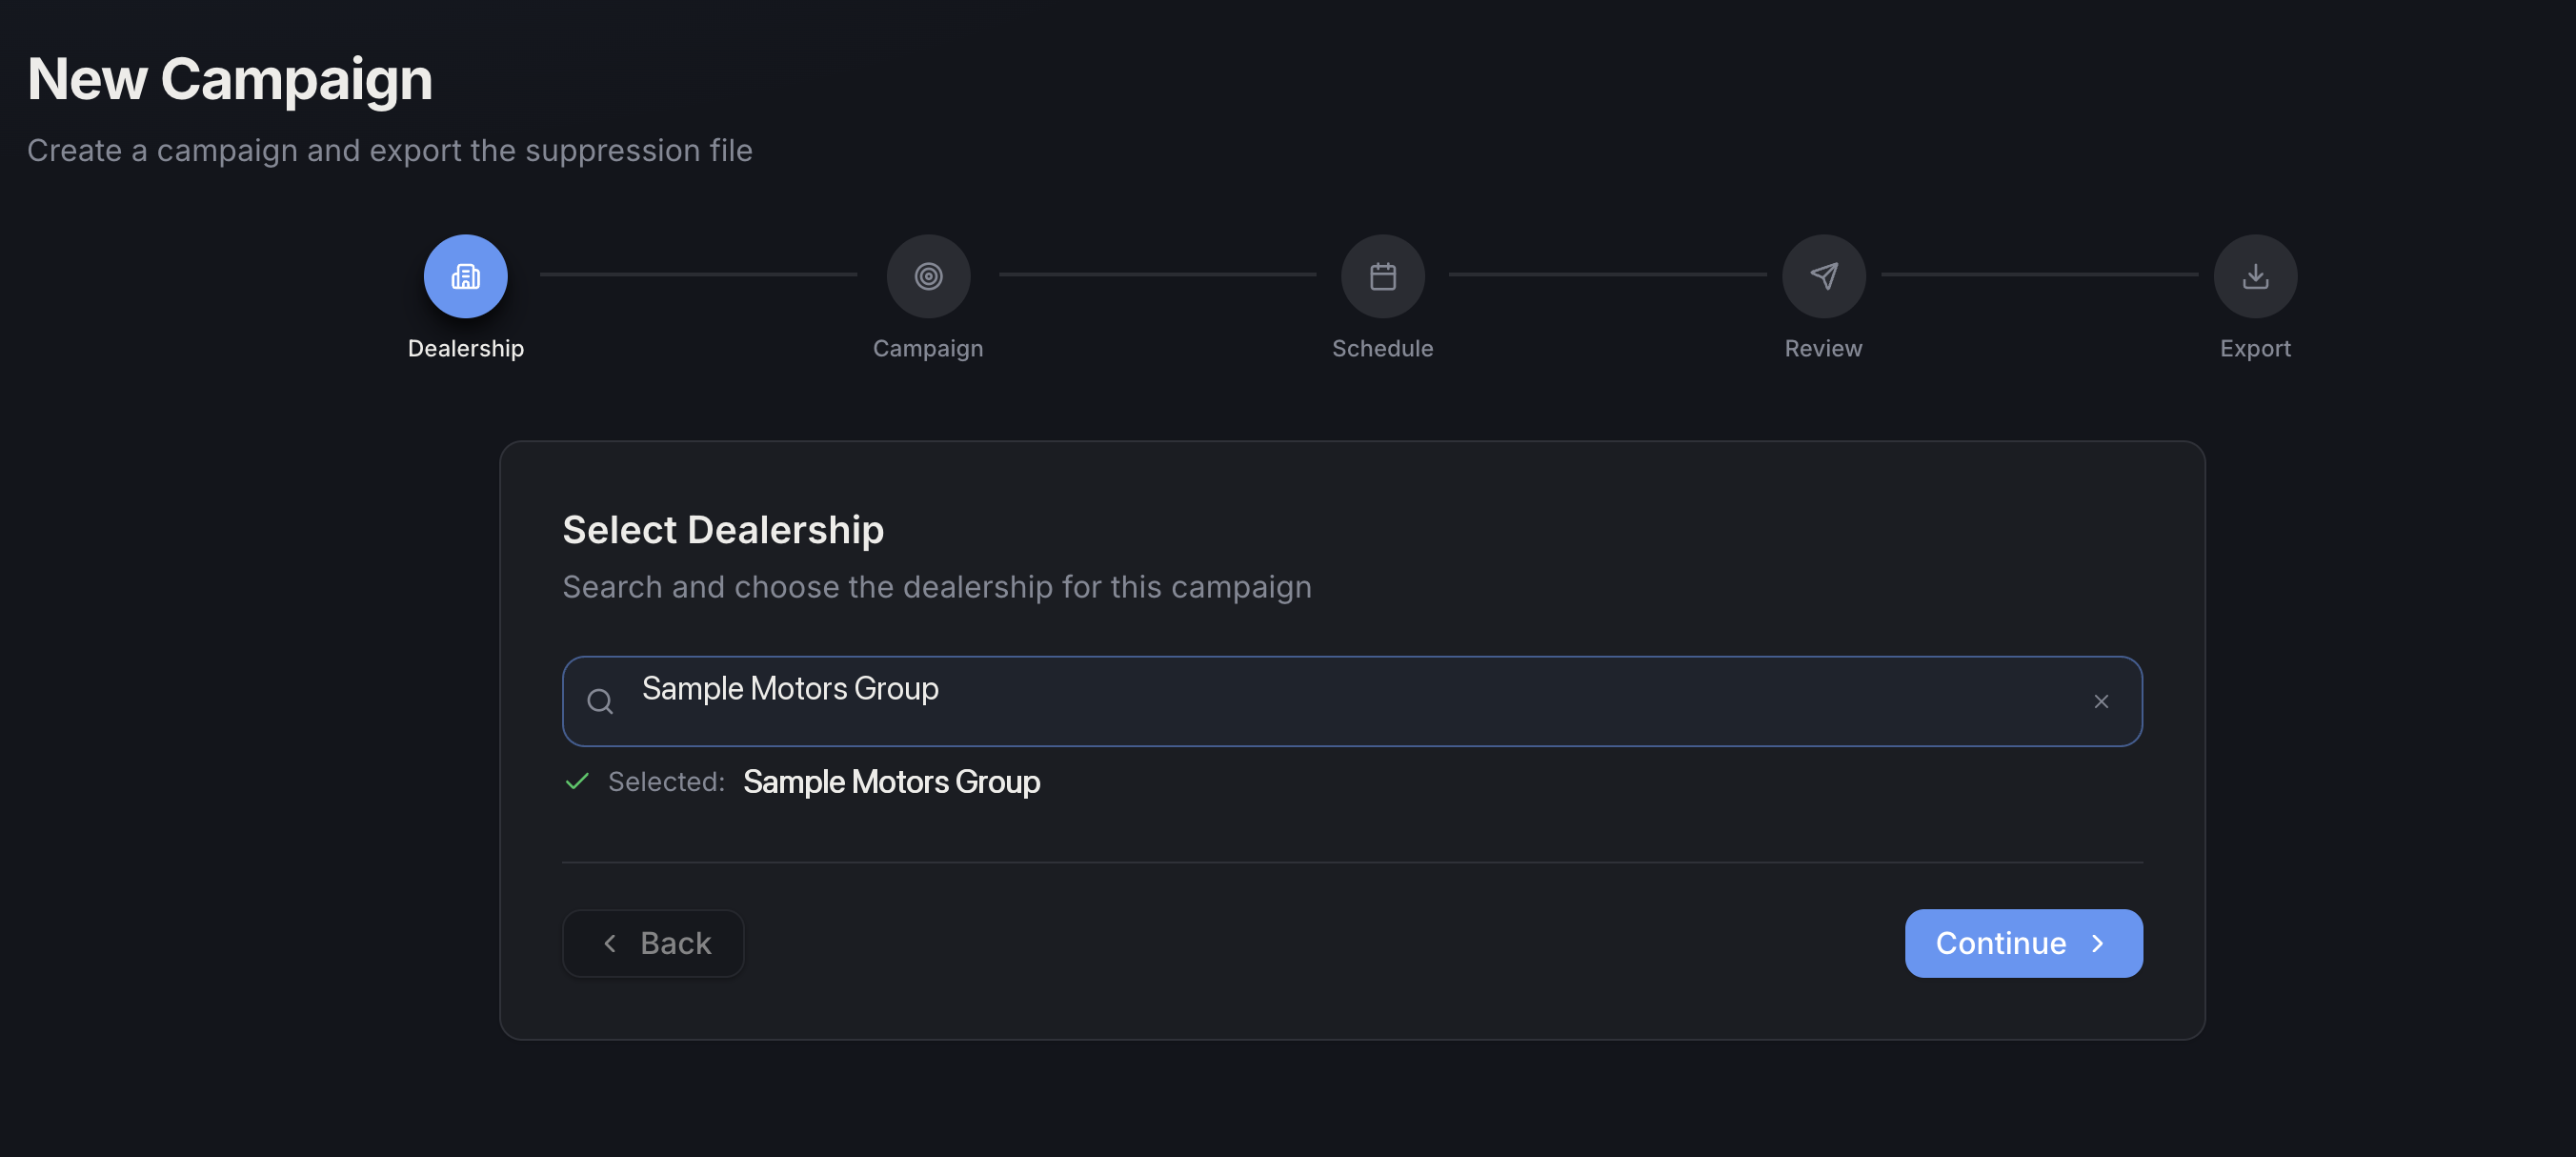
(Dealership name shown above is sample data.)
Each result shows a percentage badge — this is a match score, how closely that result matches what you typed, not a rating of the dealership itself:
- Green (90%+) — a strong match, almost certainly the right one.
- Yellow (70–89%) — a partial match — double-check the name before picking it.
- Gray (below 70%) — a weak match. If every result is gray, try re-typing the dealership name — it's likely misspelled or entered differently in the system.
You have to pick a dealership before you can continue — everything in the next steps (like which vehicle makes are available) depends on it.
Step 2: Campaign
Choose the campaign type(s) and vehicle make, and add any notes.
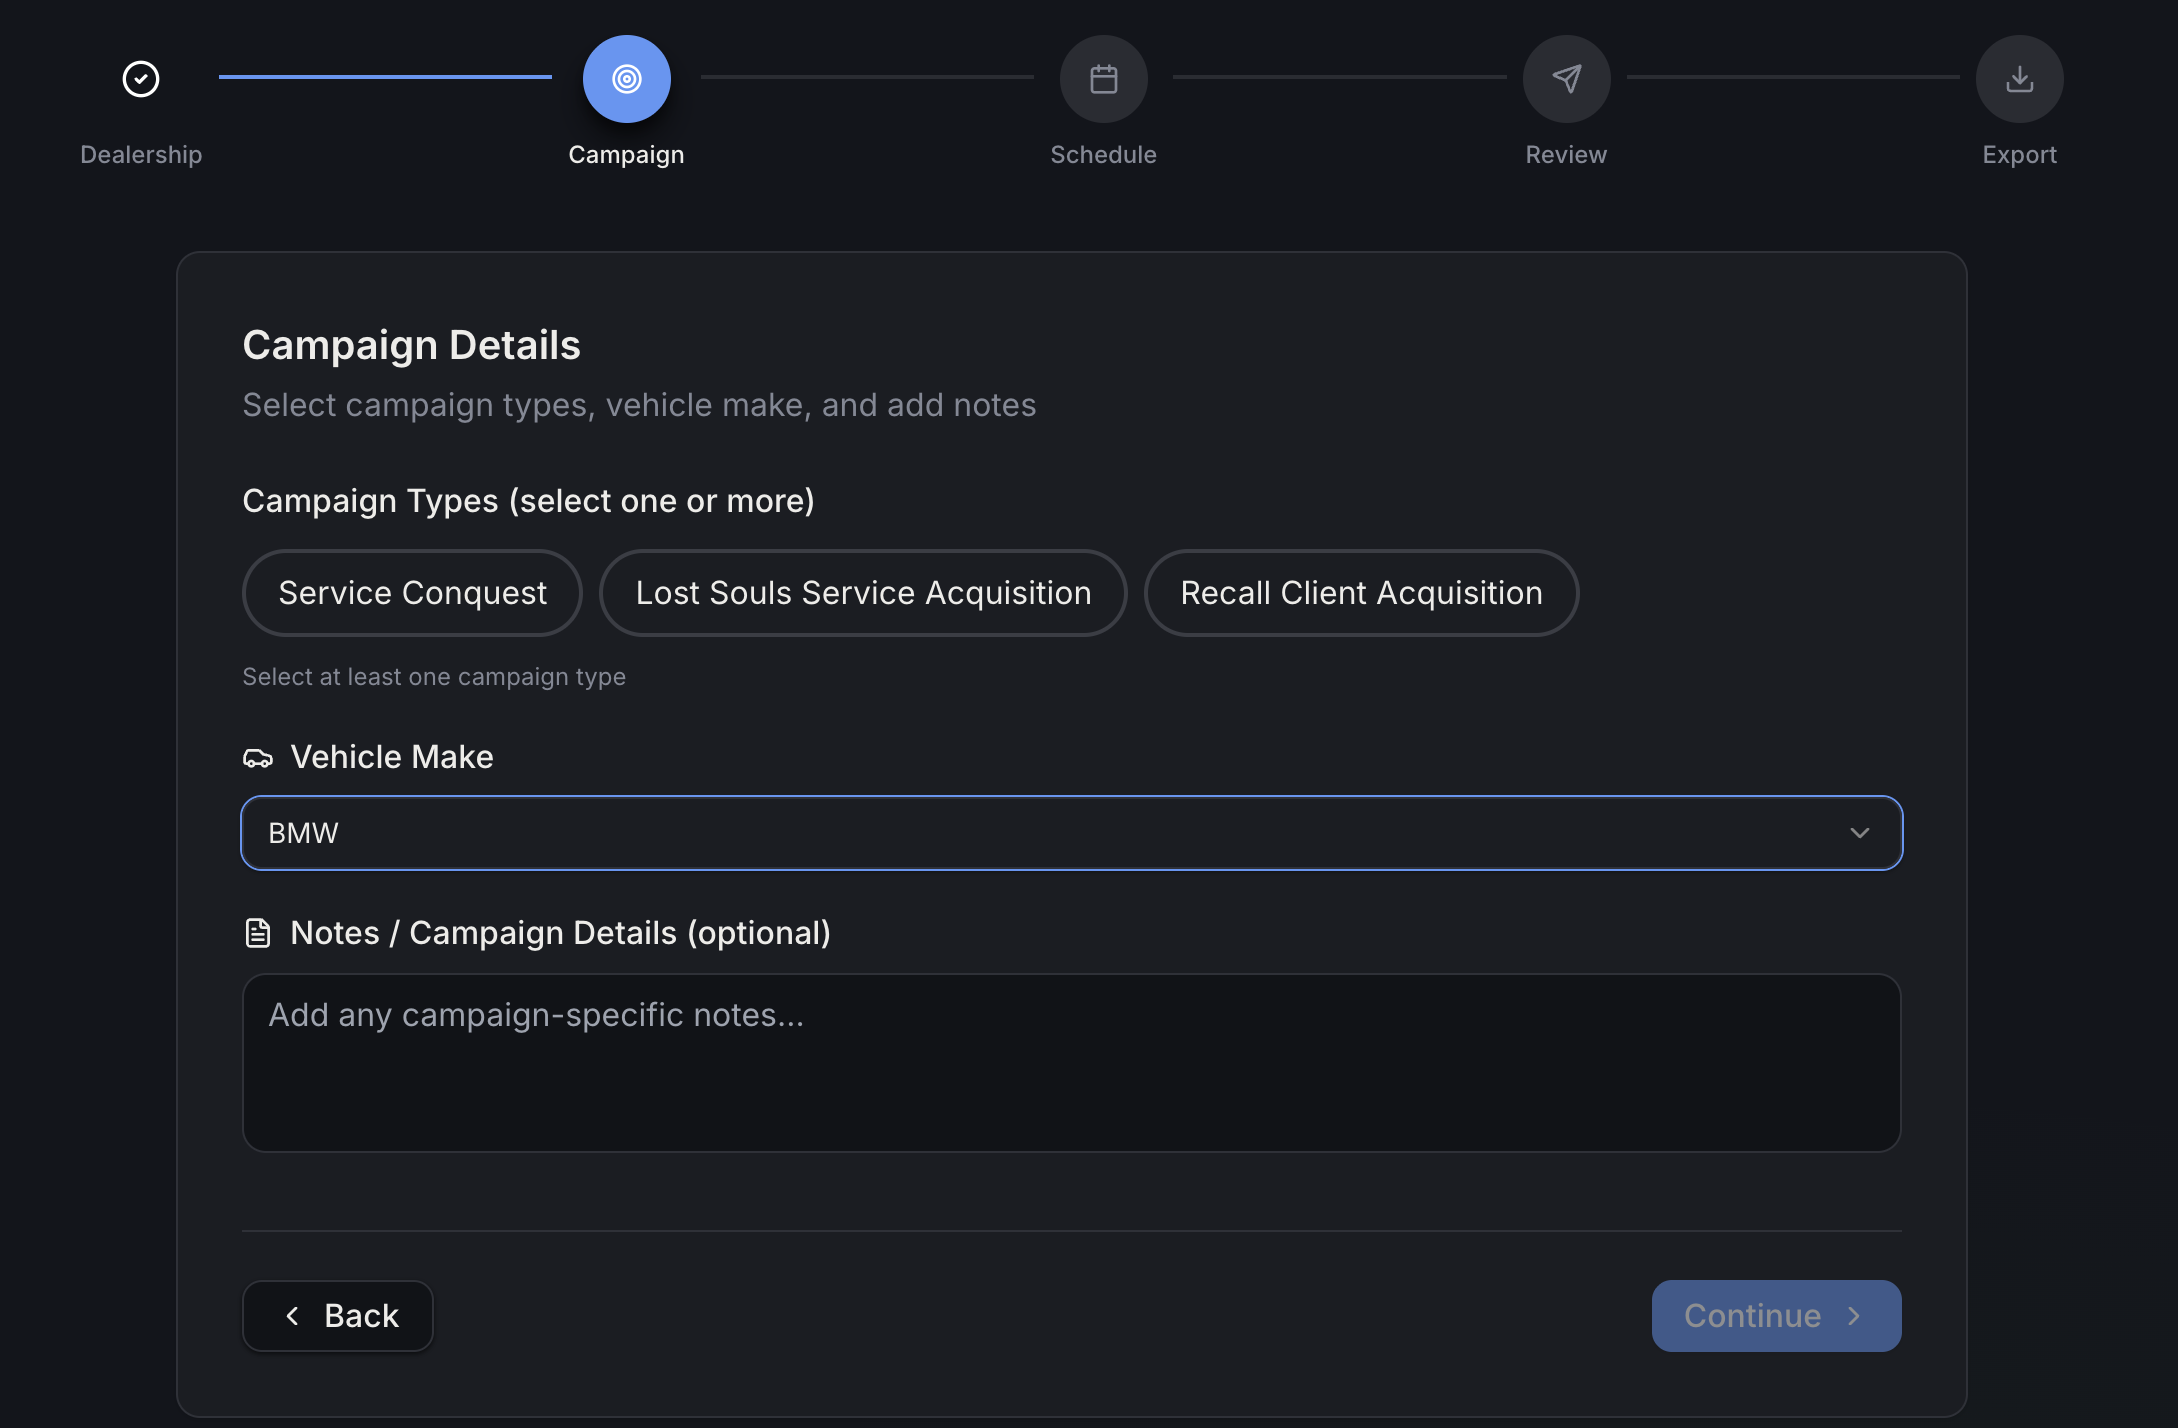
- Campaign Types — you can select more than one. See Campaign Types for what each one does.
- Vehicle Make — the makes shown here depend on which dealership you picked in Step 1.
- Notes — optional, for anything specific to this campaign.
You need at least one campaign type and a vehicle make selected before you can continue.
Step 3: Schedule
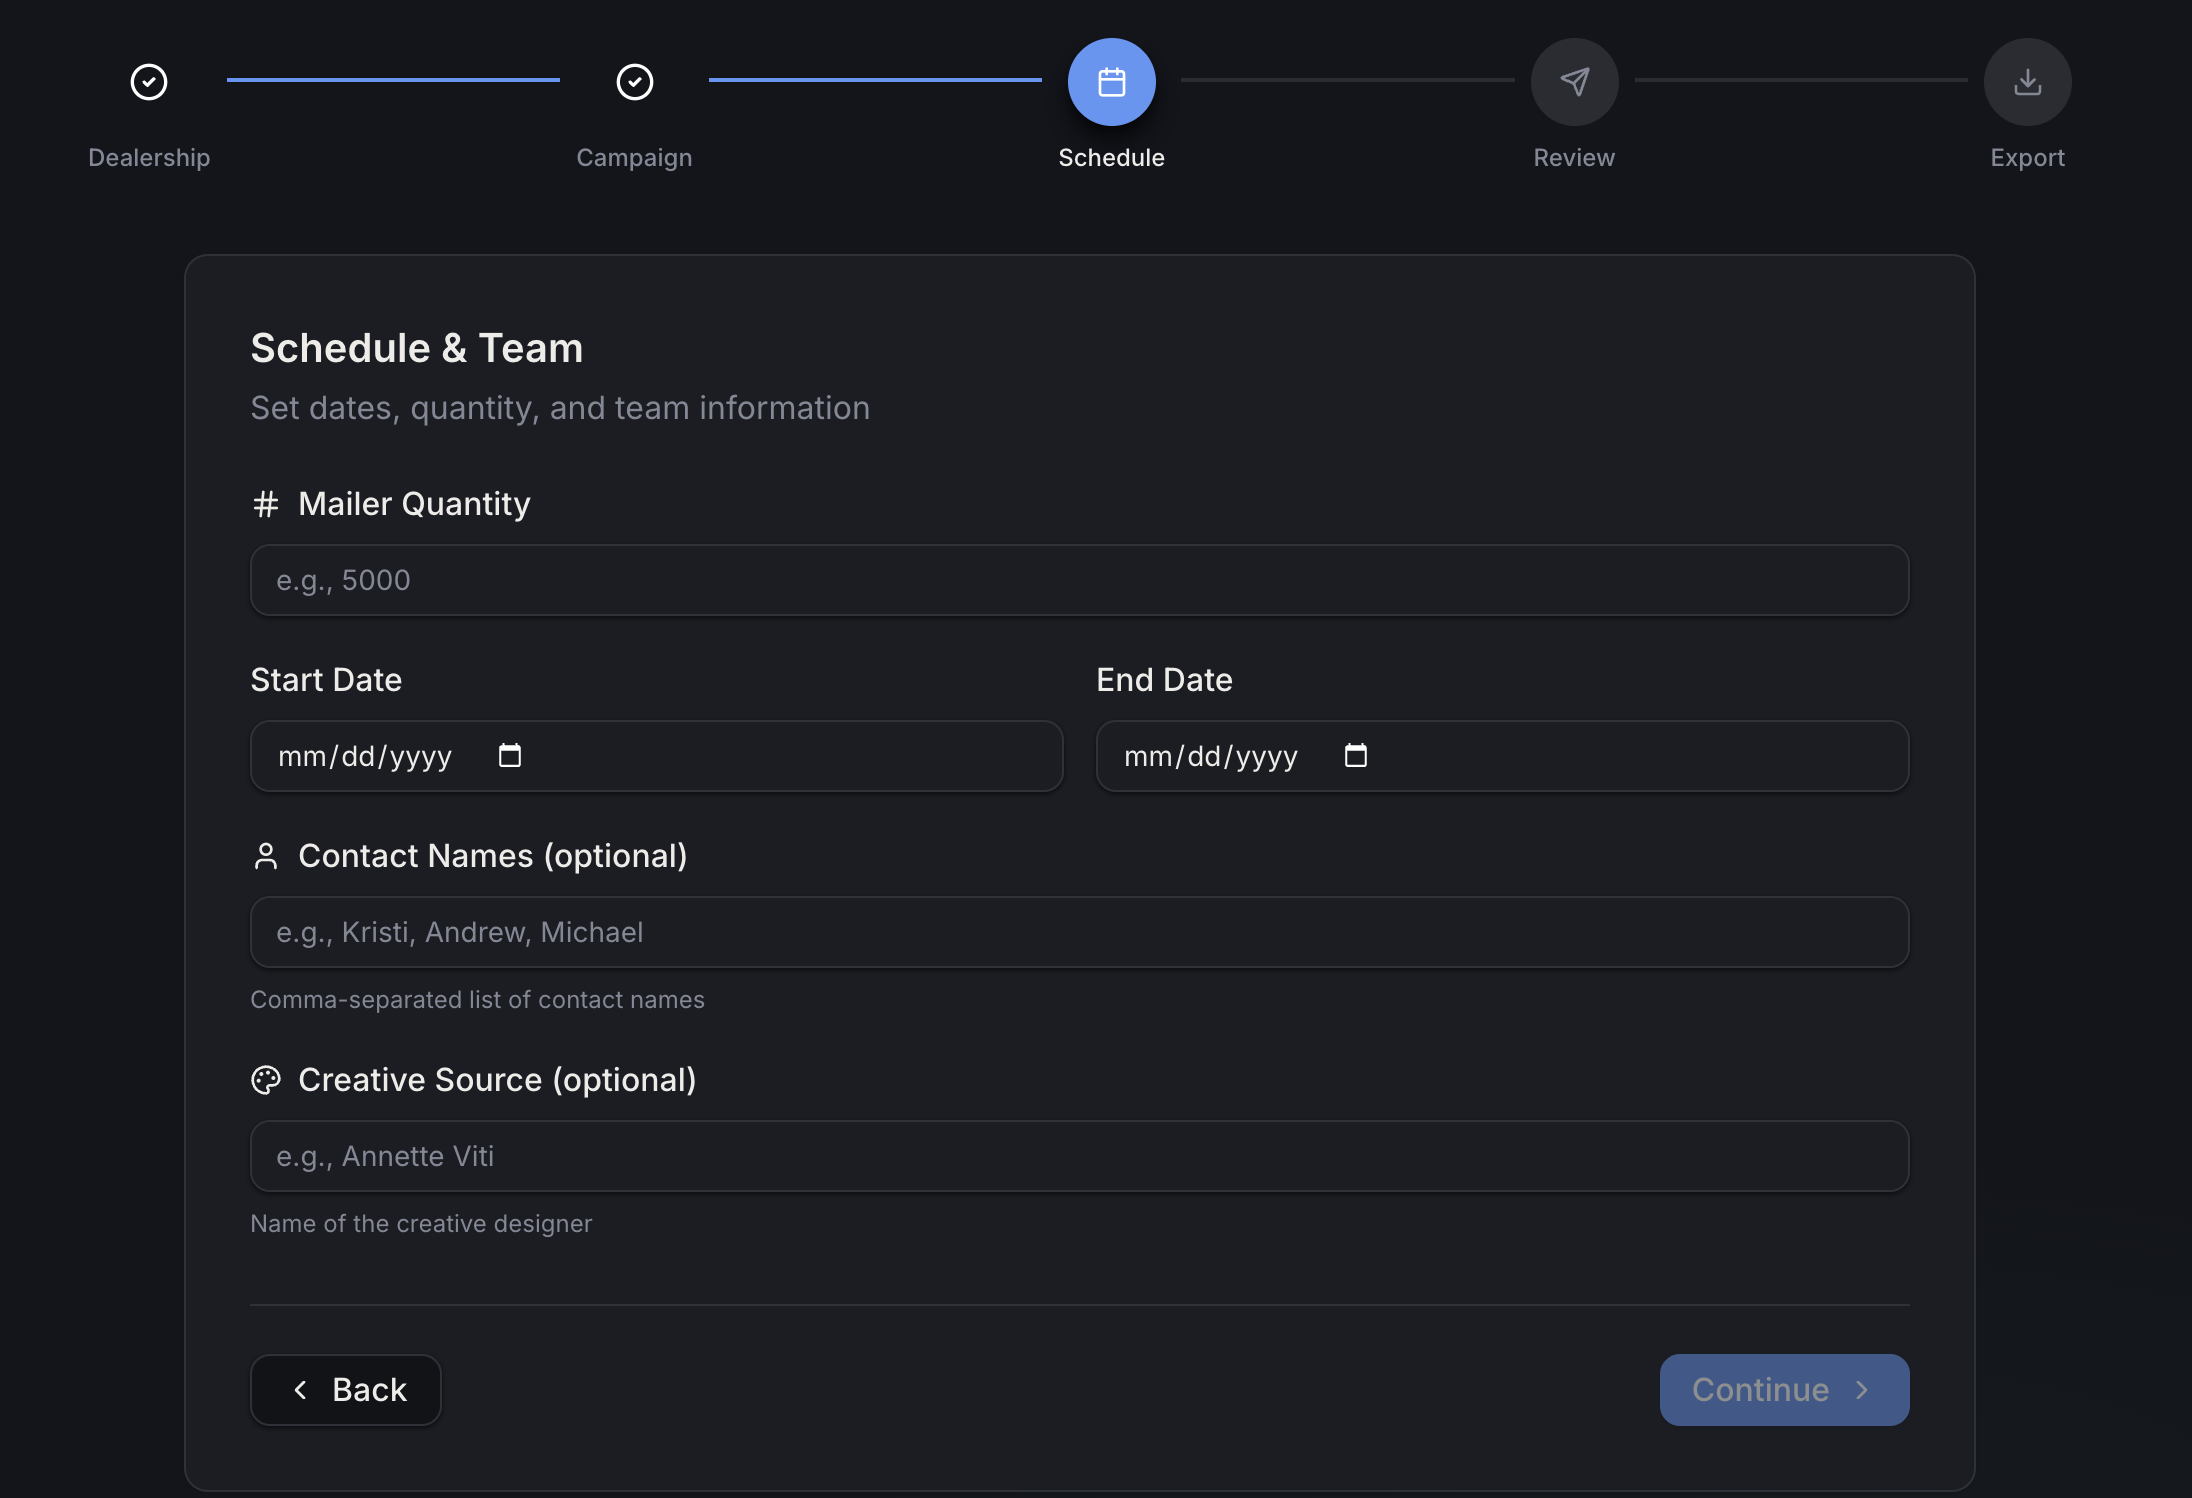
Set the mailer quantity, campaign dates, and who's involved.
Once you set a Start Date and End Date, the Campaign Mail Dates box appears — this is required, and it's the same feature described in Campaign Mail Dates: each date you add here is a separate mailer that goes out, and is what later drives the 1st/2nd/3rd Mailer Sent statuses.
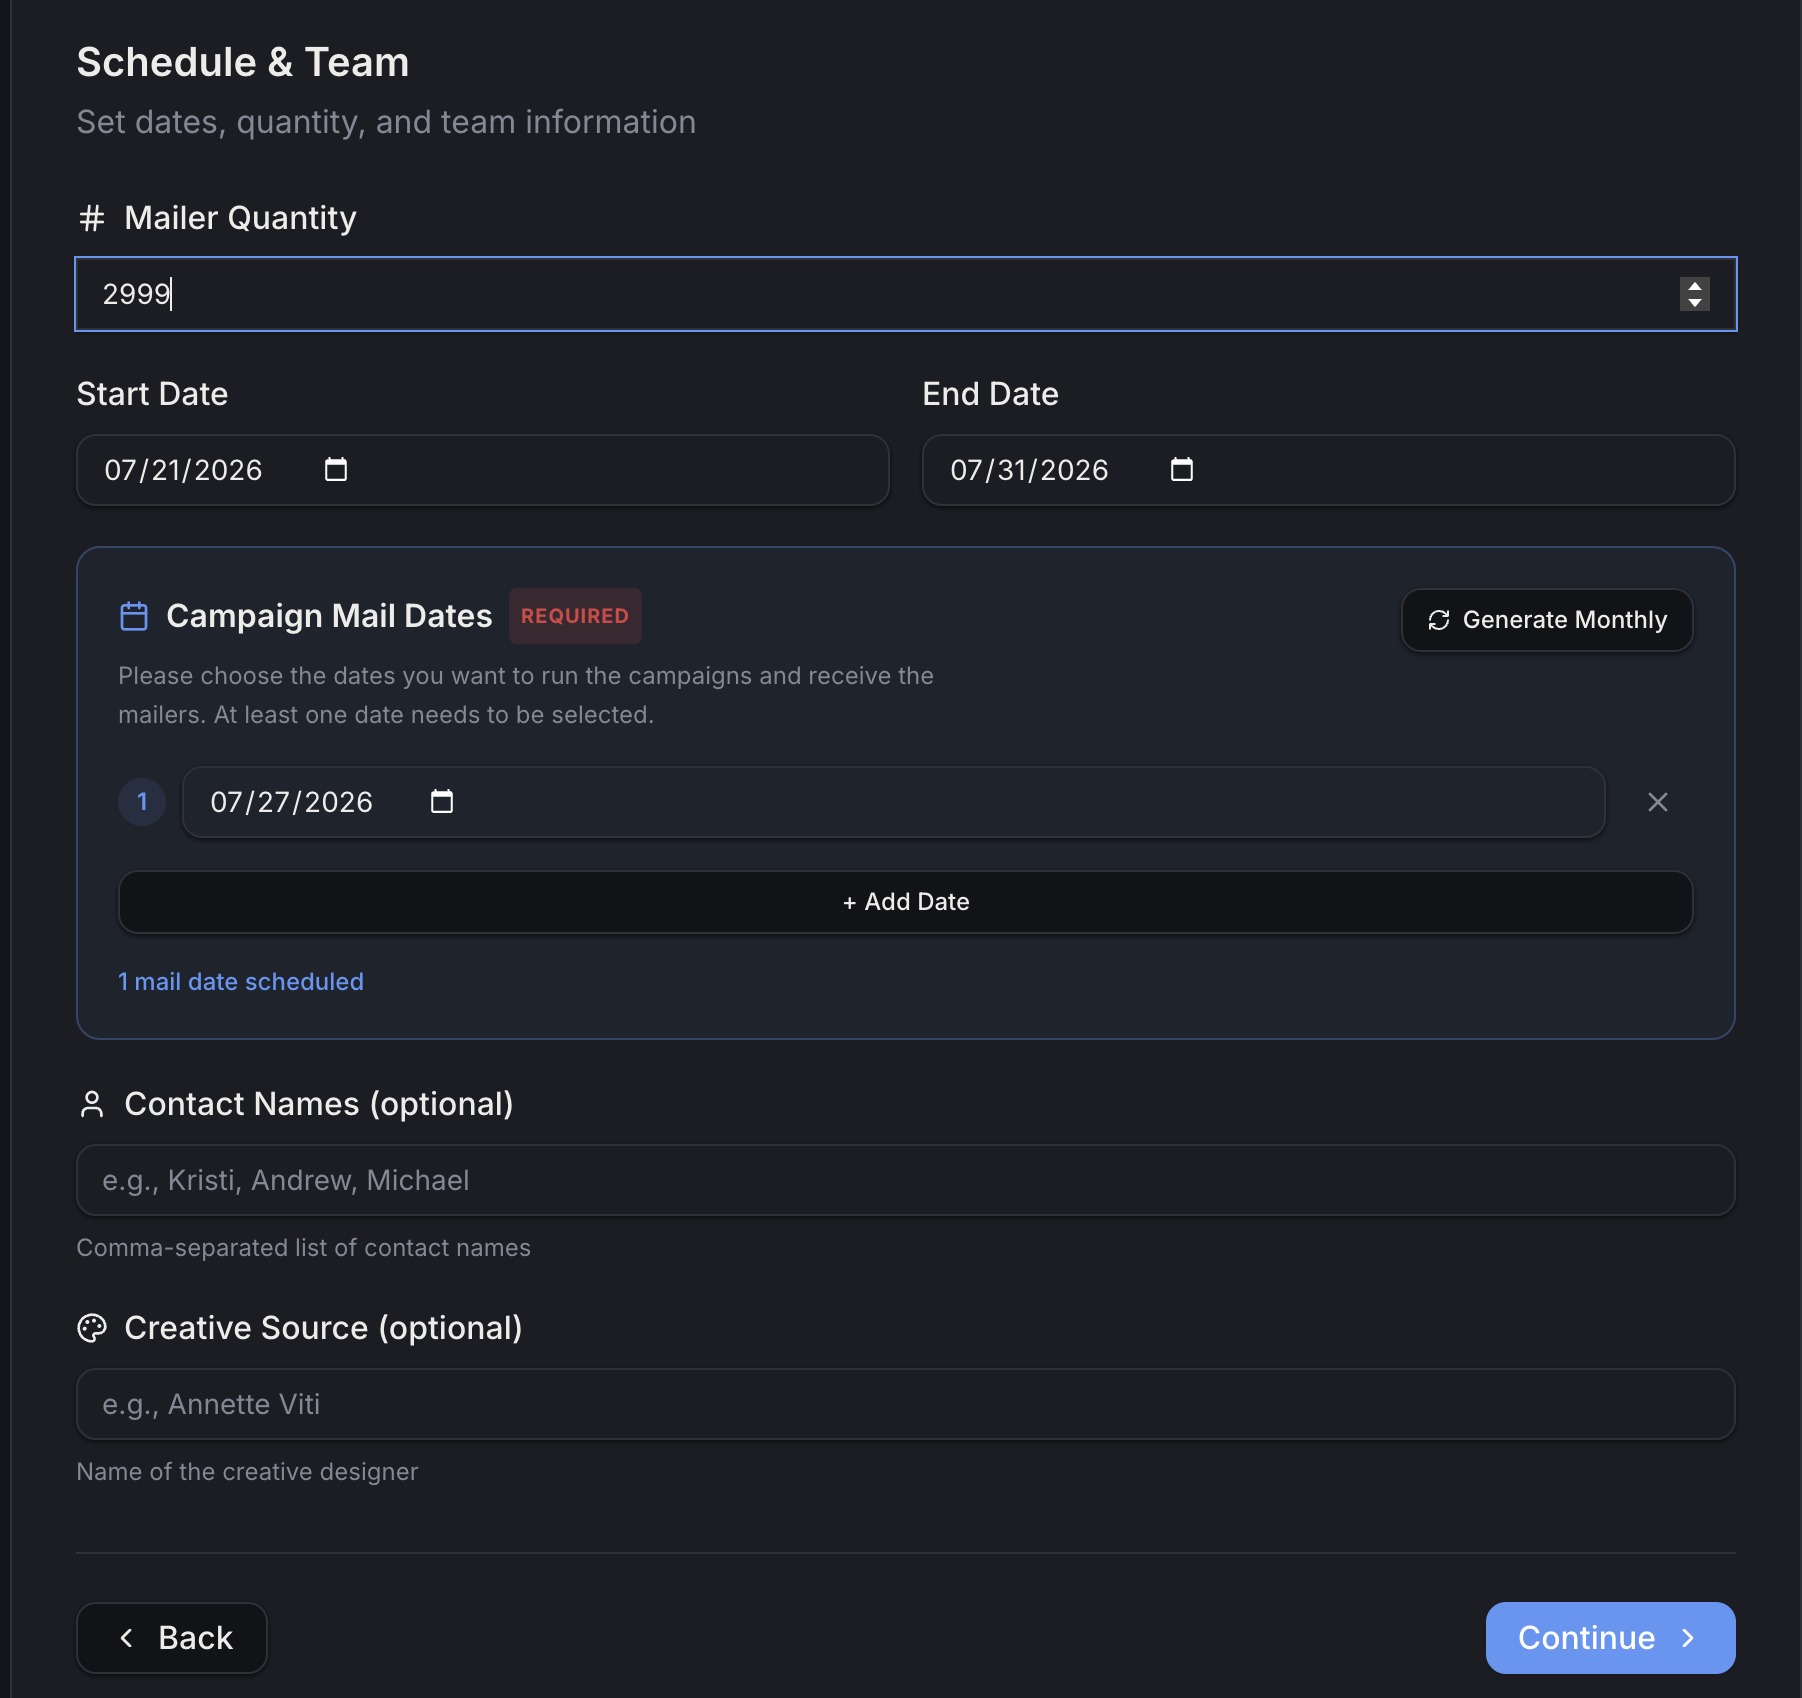
- Mailer Quantity — how many mailers to send.
- Start Date / End Date — the overall campaign window.
- Campaign Mail Dates — required; use Generate Monthly to auto-fill one date per month, or + Add Date to add specific dates yourself.
- Contact Names and Creative Source — both optional.
You can't continue until mailer quantity, both dates, and at least one mail date are filled in.
Step 4: Review
Double-check everything before creating the campaign.
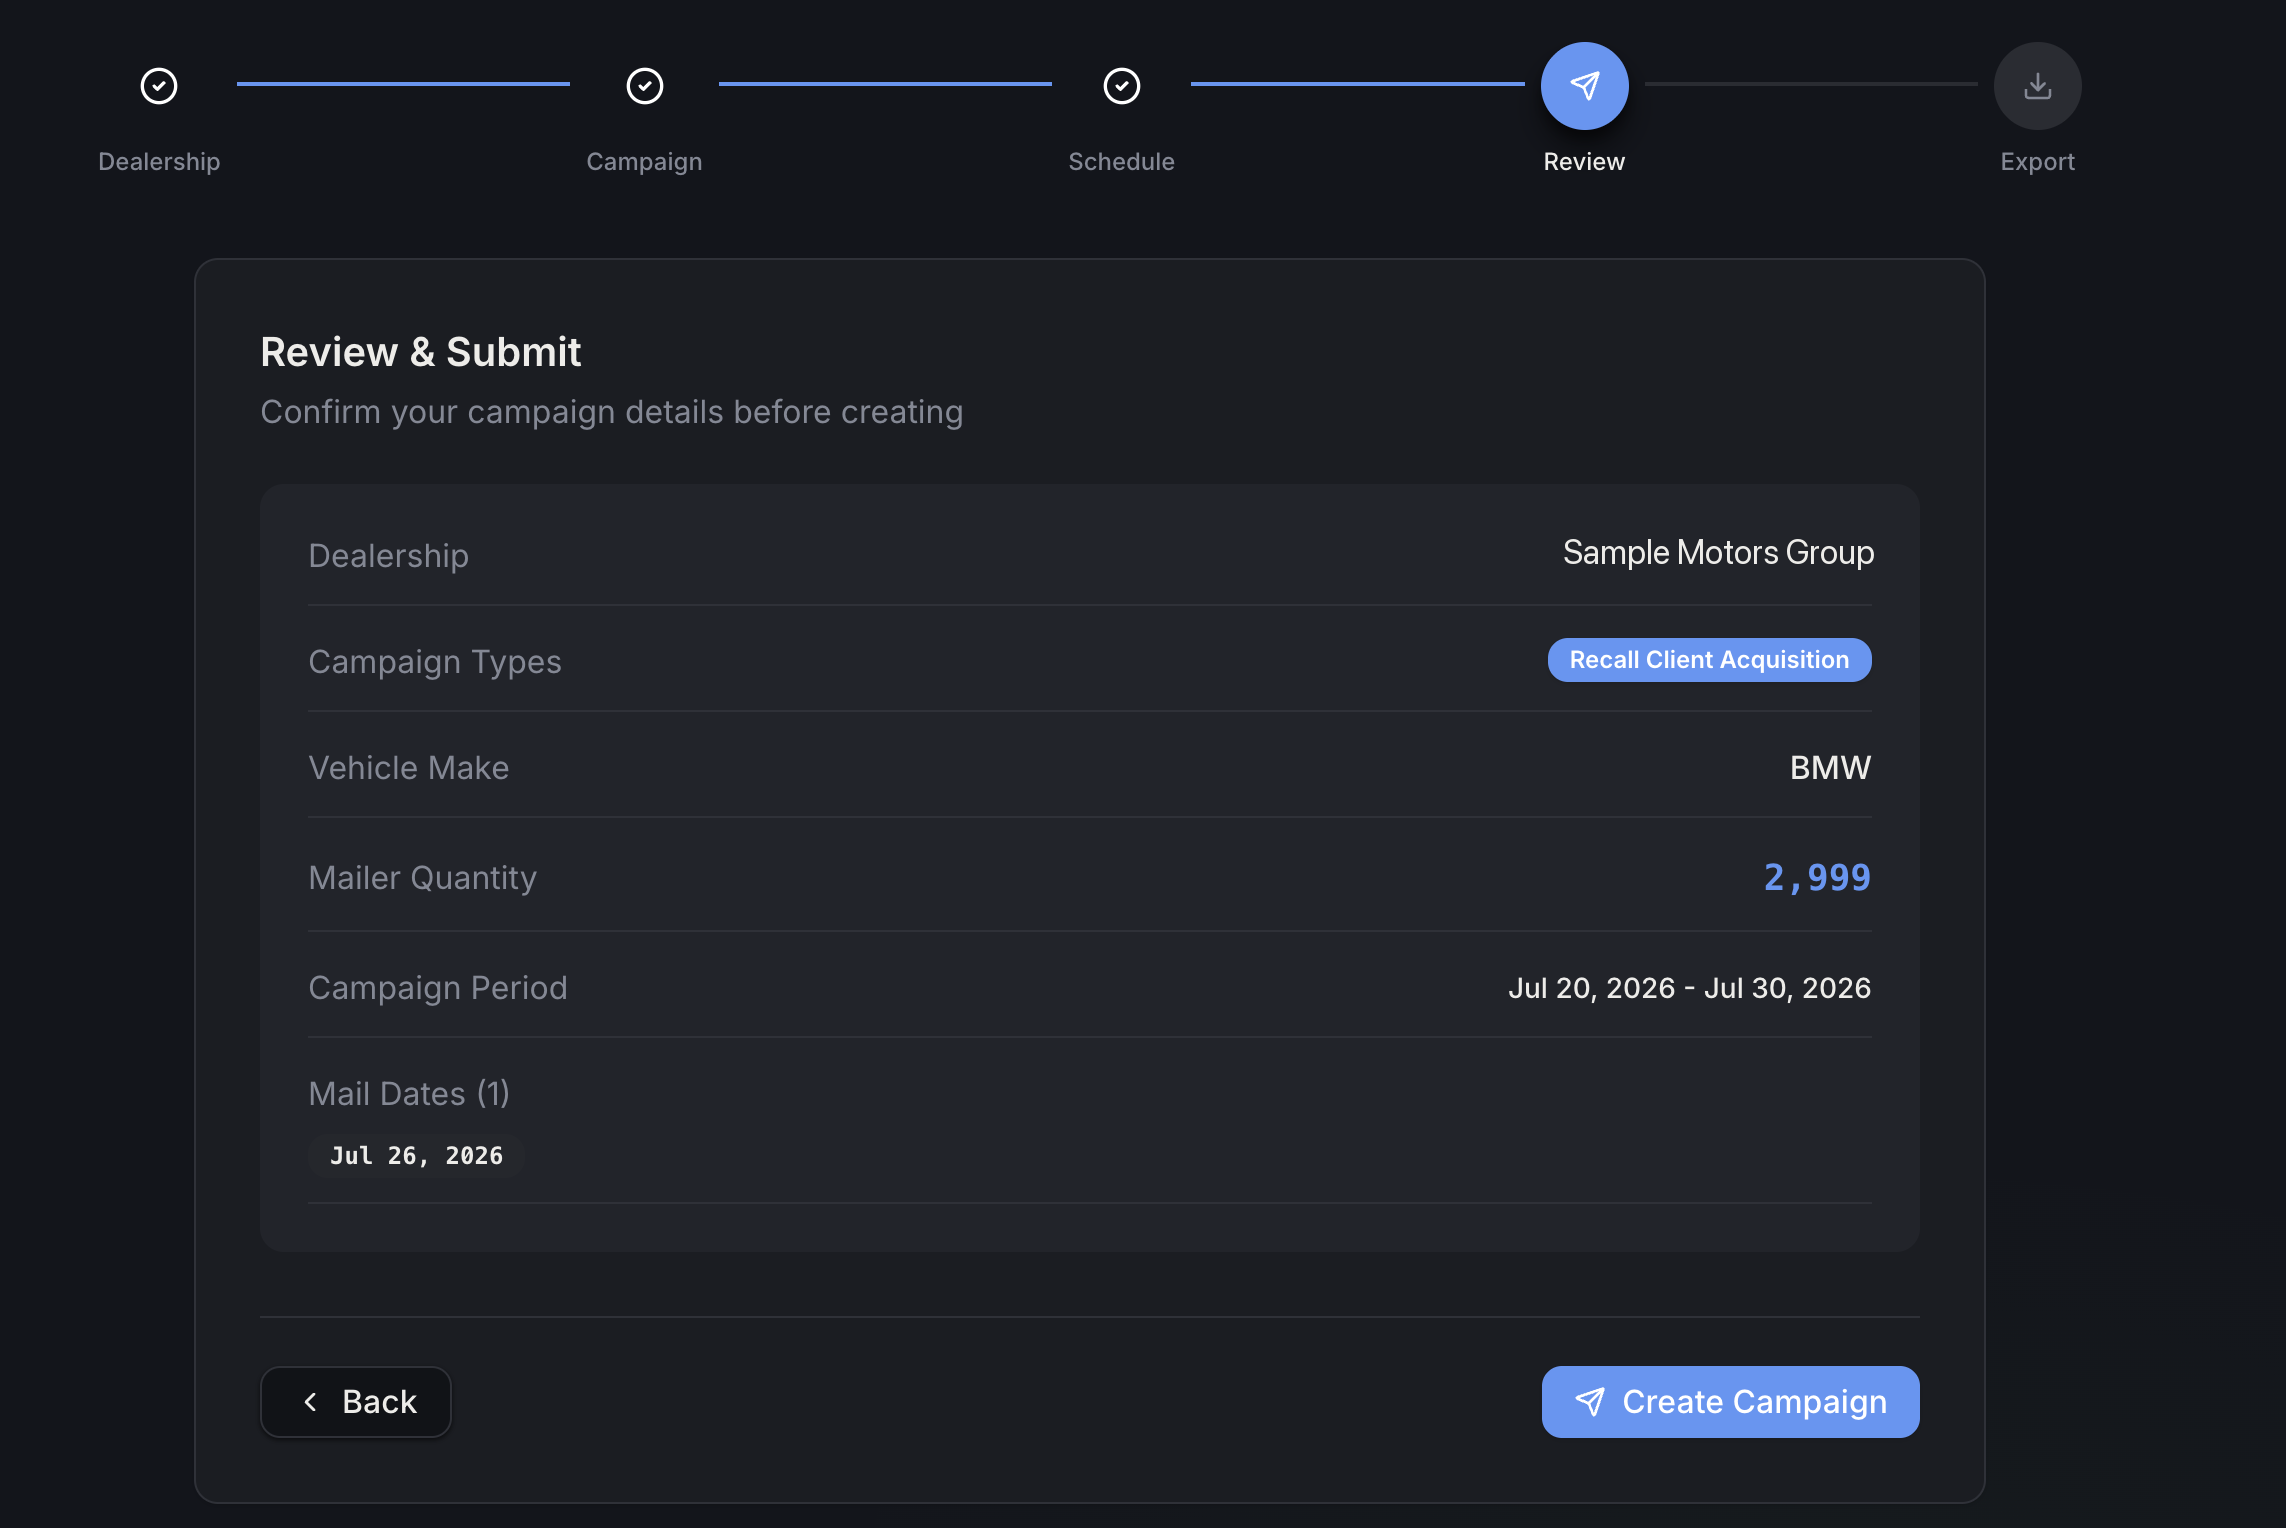
(Dealership name shown above is sample data.)
This is a read-only summary of everything from Steps 1–3. If something's wrong, use Back to fix it. Otherwise, click Create Campaign.
Step 5: Export
Once the campaign is created, you'll see:
- A success message confirming the campaign was created, along with its Campaign Code — the same auto-attach code described in Using the campaign code. Copy it now if you'll be uploading a source file soon.
- An Export Suppression File section, where you can pick which campaign type to export (if you selected more than one in Step 2), set how many previous campaigns to suppress against, and see a preview of the Lost Souls count for this dealership.
- Export CSV to generate and download the file, or Skip & Create Another if you don't need the file right now.
Exporting can take a little while for larger lists — you'll see a progress message while it works. Once it's done, you get a Download File link and a Create Another Campaign button to start over.
The suppression count and Lost Souls verification details are the same ones used in the Quick Export tab, if you need to re-export a campaign's list later without creating a new one.